Dude windows installation
This
is a step-by-step installation guide for Dude on Windows XP. Minimum
requirements:
Windows
2000,XP operating systems, 64MB RAM, 4MB free HDD space.
Here
are the steps what you need to do, to install the Dude:
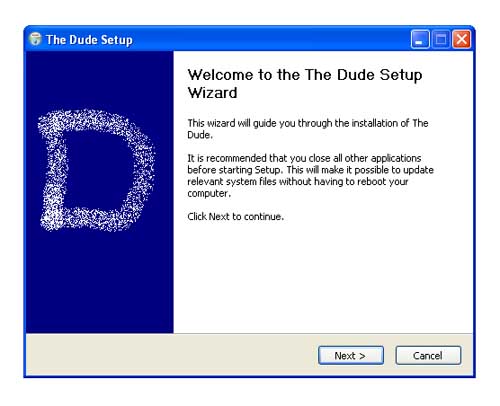
- Run the installation file
When
opening the installation file you will get such setup menu:
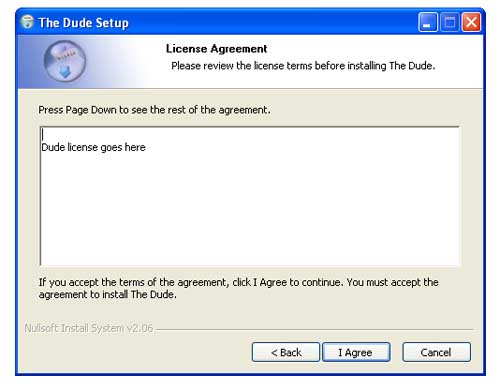
- Read and accept the license agreement
- Choose installation components
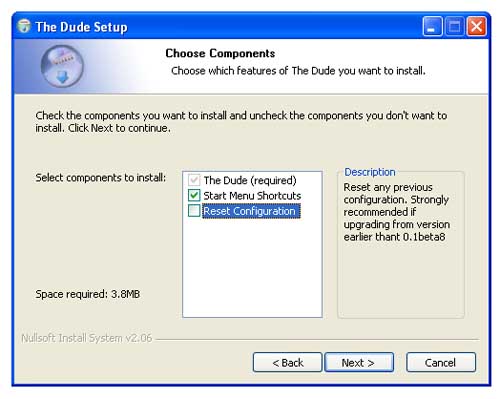
Here
you can specify which components to install together with dude, for example,
Start Menu Shortcuts. Another option is to select the 'Reset Configuration'
checkbox. By default this checkbox is empty. If you have already installed the
Dude on this machine then you can specify this option to reset the previos Dude
configuration. You should specify this option if you are installing the Dude on
machine where you have an older (v0.1beta8 or older) Dude running.
- Specify Installation location
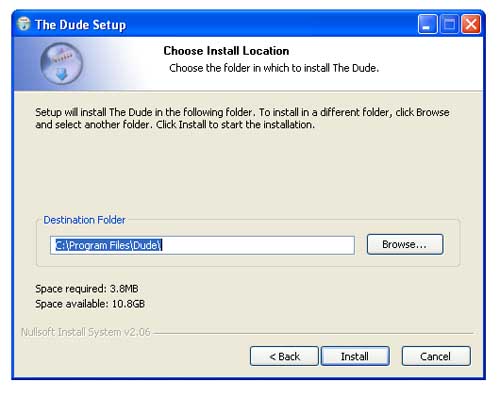
Here
you can specify the folder where the Dude and the rest files will be installed.
Please make sure that you have enough free space for the instllation and also
for extra files, for example, pictures, sounds, etc., that you could use in the
Dude.
- Installation process
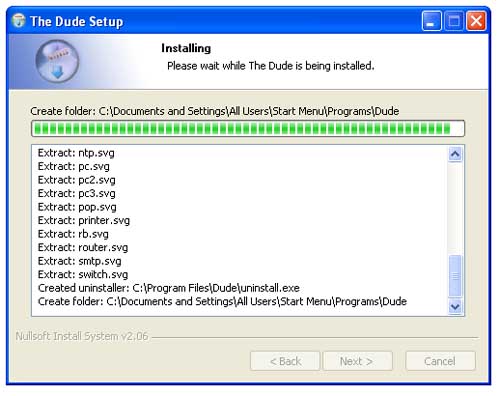
The
installation process could take up to a few minutes depending on your system
performance. You can click on the 'Show details' button to see what actions are
being performed during the installation or to see the installation log file.
- Finish the installation process
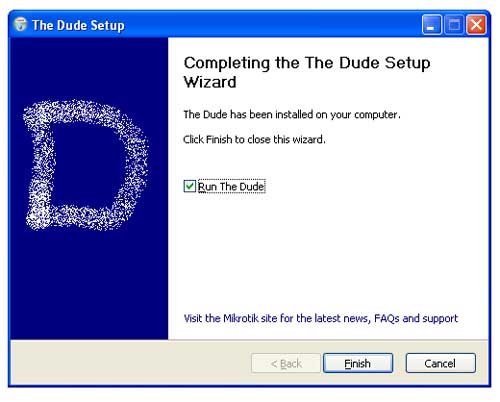
When
you see this page it means that the installation was successful. You can
specify the checkbox if you want to run the Dude now. By default the checkbox
is selected.
- Opening the Dude
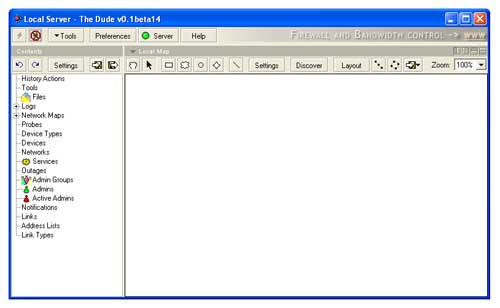
After
the installation the Dude will open automatically if you have specified at the
end of the installation process to run the program. If not, then you can look
for the Dude icon in the Start menu or by finding the dude.exe in the folder
where you have installed the Dude.
Your Dude istallation is now complete.